For your site to be available to the public, you’ll need to configure your domain…
For your site to be available to the public, you’ll need to configure your domain settings. Specifically, you’ll need to add an A Record to your domain registrar to point to the IP address of your server.
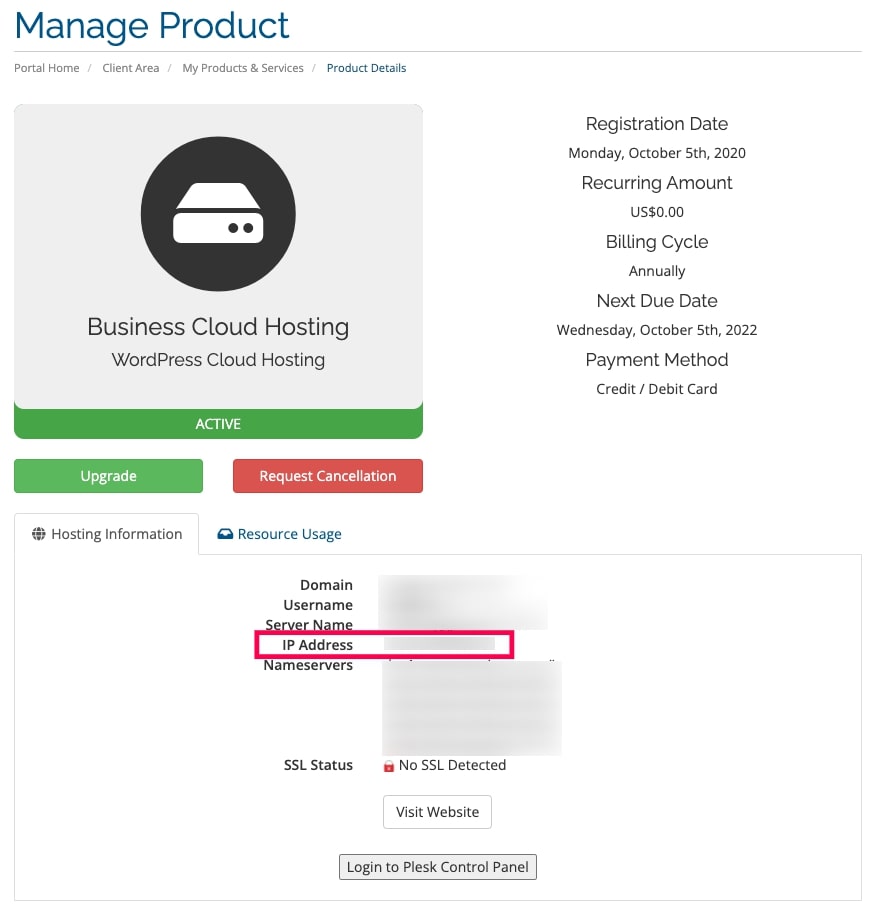
Before you get started, find the IP address for your server, either from the Hosting Welcome Email or log in to your customer account, and check the IP address under Services > Cloud Hosting > Product details.
Then, you’ll need to visit your domain registrar, in this case 1&1, and perform the following steps.
- Log in to the 1&1 Control Panel using your Customer ID OR domain name and your password. If you have only one package, you will land on the Administration page. If you have more than one, select the package you want to in order to reach its Administration page.
- Click Manage Domains from the Domains panel.
- Click the arrow icon next to the domain name in question to display an options menu.
- Select Edit DNS Settings from the Domain Settings section of the options menu.
- Select 1&1 name servers under Name Servers (if it isn’t selected already). Select Other IP address and insert the IP address provided in the customer account in the respective field.
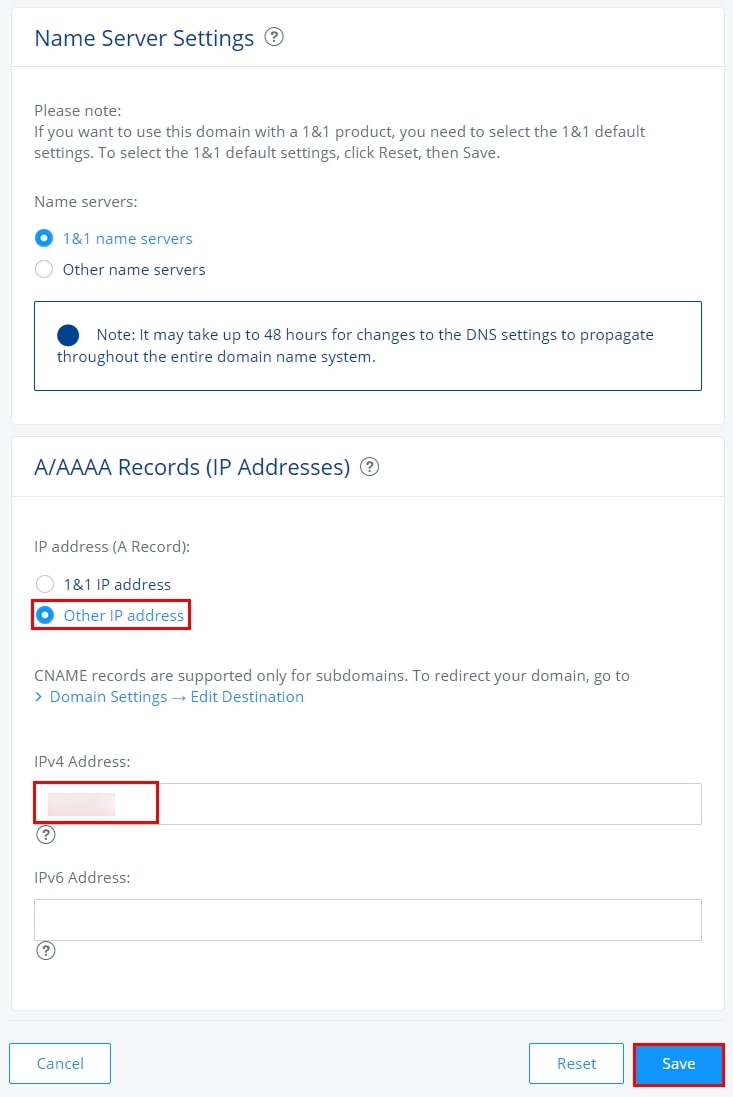

- Click the Save button when finished. A confirmation page is displayed informing you that your changes will be updated.